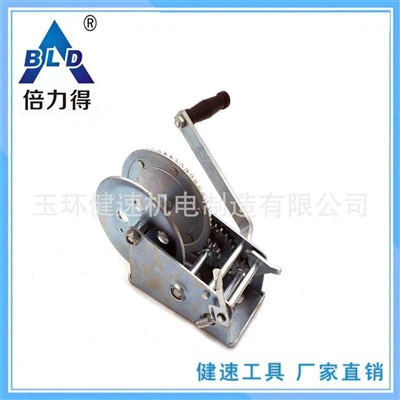
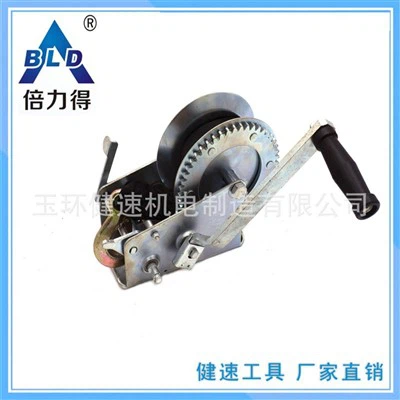
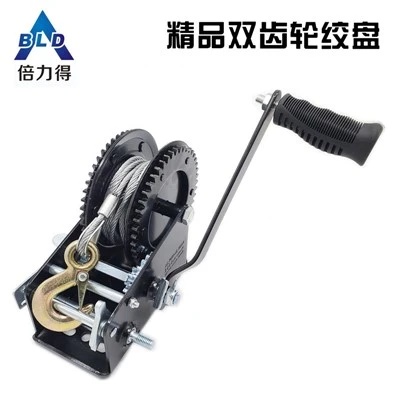
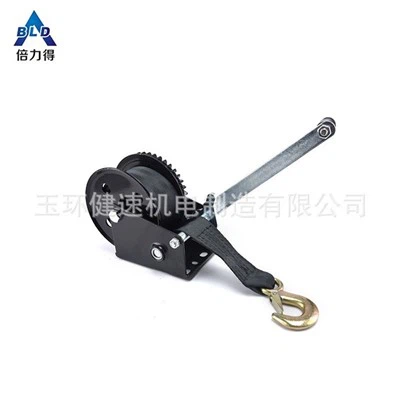
Preparation: Essential steps before you start
Before you begin servicing your special winch, proper preparation is crucial to ensure a smooth and clean process. Here are some steps to prepare:
Tools and diagrams: Ensure you have all necessary tools and materials at hand. Additionally, obtain an exploded diagram of your special winch model to guide you through the process. This diagram acts as a visual aid for part identification and placement. We have ours laminated and in the service kit.
Protect your space: Lay towels around the work area on the deck to protect it and minimize the chance of parts bouncing away during disassembly. If you're working near the side of the boat, drape towels over the lifelines to prevent any parts from potentially disappearing overboard.
Skin protection: Wear gloves to shield your skin from grease and dirt associated with special winch maintenance. Consider wearing two pairs of gloves; as you approach the final stages of reassembly, you can remove the outer dirty pair to keep the freshly serviced special winch clean.
Step 1: Disassembly
Begin by removing the special winch drum. Most special winches allow you to lift the drum straight off the base after removing the circlip or screw at the top of the spindle. Keep all small parts in a tray to avoid losing them.
Step 2: Cleaning
Clean all parts thoroughly using bespoke degreaser or diesel. Remove all the old grease, salt, and grime from the gears and bearings using a rag, toothpick and a soft brush. Ensure all parts are completely clean, free from degreaser and dry before re-greasing.
Step 3: Inspection
Inspect all components for wear and damage. Pay special attention to the pawls and springs, which are prone to wear due to their crucial role in the special winch mechanism. Replace any worn or damaged parts using spares from your service kit.
Step 4: Lubrication
Apply marine grease generously to the gears. The grease should coat the gears evenly but not excessively—too much grease can attract more dirt. Oil the pawls and springs lightly with machine oil to ensure smooth operation. Be cautious not to over-lubricate, as this can lead to sluggish pawl action. Never put grease on the pawls or springs.
Step 5: Reassembly
Carefully reassemble the special winch, ensuring all parts are correctly aligned and seated, using the special winch diagram for certainty. Replace the drum on the base and secure any circlips or screws removed during disassembly.
Step 6: Function check
Once reassembled, rotate the special winch handle to ensure smooth operation. There should be no sticking or grinding noises. If the special winch does not operate smoothly, double-check assembly and lubrication.
Step 7: Maintenance schedule
Regular maintenance is key to prolonging the life of your special winch. Due to heavy use, we service our special winches every 12 weeks. You likely won't need anything like such regular servicing but they must be done at least once a season.